How to Shoot During Golden Hour: Lighting Guide
Golden hour is the period shortly after sunrise and just before sunset when the sun sits low in the sky, casting a soft, warm, directional light. It is the m...
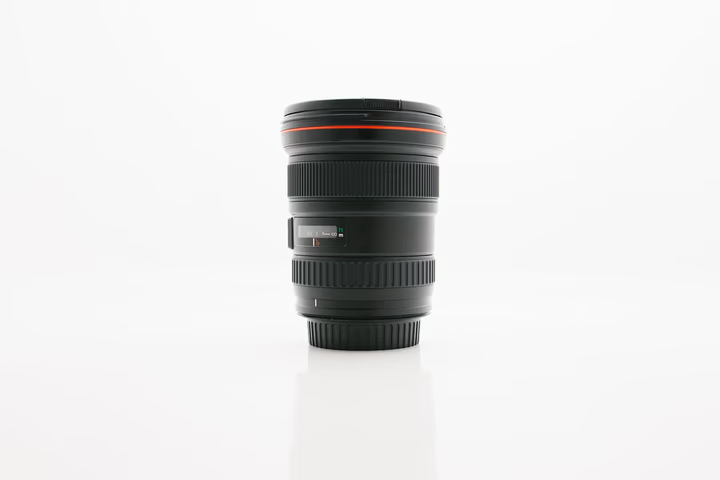
Golden hour is the period shortly after sunrise and just before sunset when the sun sits low in the sky, casting a soft, warm, directional light. It is the most sought-after time of day for portrait, landscape, and outdoor photographers because it produces flattering, natural illumination that is difficult to replicate at any other hour. Below is a practical guide to making the most of this narrow window of beautiful light.
What Makes Golden Hour Light So Special?
During golden hour, the sun's rays travel through a thicker layer of atmosphere, which scatters the harsher blue light and leaves behind a warm, golden tone. Shadows become long and soft instead of harsh and black. The result is even skin tones, gentle facial contours, and backgrounds that glow rather than compete with the subject.
Shooting Settings for Golden Hour Portraits
- Aperture: f/1.8 to f/2.8 to let in maximum light and create soft background separation.
- Shutter Speed: 1/125s to 1/250s as a starting point. With abundant direct sunlight, you can often shoot handheld at lower ISOs.
- ISO: Keep ISO as low as possible — 100 or 200 — to preserve image quality and minimize noise in the shadow areas.
- White Balance: Set to Daylight (approx 5500K) or Cloudy (approx 6000K) to enhance the warm tones. Auto white balance may neutralize the golden warmth.
- Exposure: Expose for your subject's skin. Bracket your shots if the sky is significantly brighter than the foreground.
Composition Tips
- Shoot with the sun behind the subject. Backlighting creates a stunning rim-light edge on the hair and shoulders. Use a reflector, a white card, or fill flash on a low power setting to light the subject's face.
- Use lens flare intentionally. Letting a small amount of sun peek into the frame at the edge creates a warm, dreamy look. Shoot with a lens hood or your hand to control how much flare enters the lens.
- Include the sun as an element. Position your subject so the low sun creates a dramatic burst or flare behind their head. Experiment with aperture size to adjust the shape and intensity of the flare.
- Watch your shadows. Golden hour shadows are long and directional. Position them so they fall toward the camera or away from the subject, depending on the mood you want.
- Turn your subject slightly away from the sun. A three-quarter angle to the light creates sculpted cheekbones and a natural highlight on one side of the face.
Editing Golden Hour Photos
- Warm it up. Even if the natural golden hour light is warm, a slight adjustment to the temperature slider (+200 to +400 Kelvin) enhances the glow.
- Keep highlights from clipping. The brightest part of the sky can blow out quickly. Pull the Highlights slider back by -20 to -50 to preserve cloud and sky detail.
- Add a subtle warm tone in post. Split Toning or Color Grading with a warm amber tone on the highlights and a complementary cool blue on the shadows creates a polished, cinematic look.
Practical Tips
- Plan your shoot location in advance using a sun tracker app (Sun Surveyor, PhotoPills) so you know exactly where the sun will be.
- Golden hour lasts roughly 60 minutes. Arrive 30 minutes early to set up equipment and test your angles before the best light arrives.
- During the last 10 minutes, the light shifts rapidly. Keep shooting and adjusting as colors become increasingly saturated.
- Even overcast days produce a soft, golden tone that can be just as beautiful as a clear sunset.
Final Thoughts
Golden hour is a natural gift for any photographer willing to plan around it. The light is soft, warm, and directional, making nearly any subject look better. By arriving prepared, dialing in your white balance and exposure, and using backlighting or flare intentionally, you can consistently capture beautiful, glowing images during this short window of time.
FAQ
What is the exact golden hour time? Golden hour is the period approximately 60 minutes after sunrise and 60 minutes before sunset. The exact duration depends on your latitude and the season. Apps like PhotoPills and Sun Surveyor calculate precise times for any location.
Can I shoot golden hour photos on an overcast day? Yes. Overcast days diffuse and soften golden light, producing a warm, even tone across the entire sky without harsh contrast. The effect is less dramatic than a clear sunset but equally beautiful for portraits.
What lens is best for golden hour photography? Fast prime lenses (50mm f/1.8, 85mm f/1.4, 35mm f/1.4) excel in golden hour conditions. Their wide maximum aperture lets in more light and produces soft, dreamy background blur. A wide-angle lens is best for capturing expansive golden-hour landscapes with a low sun.
Continue reading
42 Free Photography Books to Download (PDF + eBooks)
May 24, 2026
Family Photoshoot Poses
September 25, 2026
Which Fashion Brands Are Winning the AI Discovery Battle — And Why It Matters More Than SEO
May 24, 2026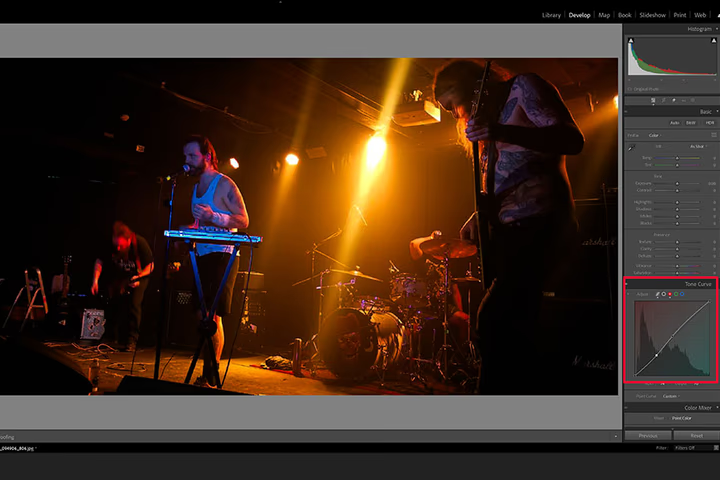
How to Edit Concert Photos for Best Results
July 11, 2026
Sibling Photoshoot Poses
September 25, 2026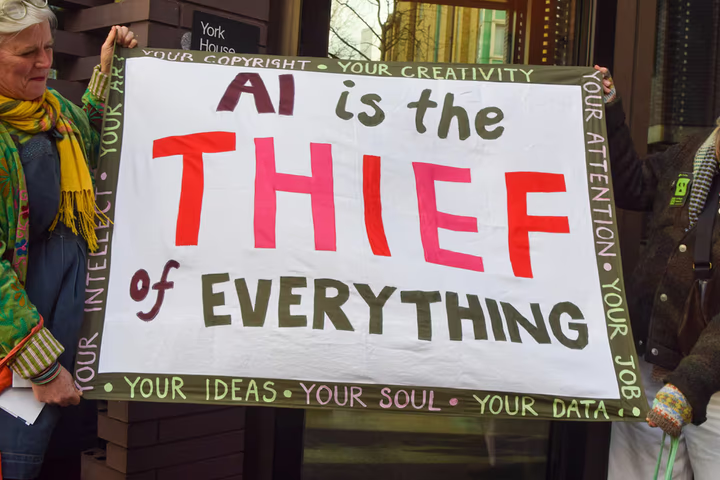
Why People Are Starting to Hate AI — And What Fashion Brands Need to Understand
May 24, 2026
Fashion People and Zara Agree: You Can't Go Wrong With This Effortless 3-Piece Summer Outfit Idea
May 25, 2026
13 Unique Father's Day Gifts That Go Way Beyond the Usual Mug
May 24, 2026
Master Flow Posing Photography: 9 Dynamic Techniques
July 11, 2026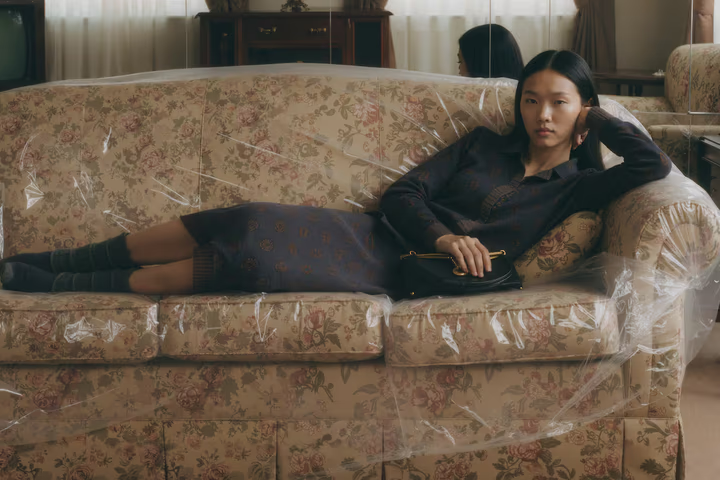
How Pixel Moda Is Producing 14 Million AI-Assisted Images a Year — Without Losing the Human Touch
May 24, 2026
Every Chic Londoner Is Wearing One of These 5 Summer Heatwave Staples This Weekend
May 25, 2026
How to Include Pets in Family Photos: Tips and Pose Ideas
July 11, 2026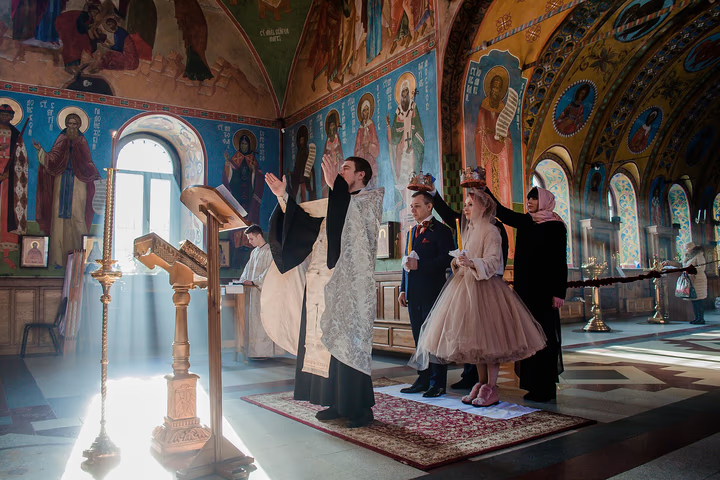
9 Steps to Finding the Perfect Wedding Photographer
September 27, 2026
Making Money with Stock Photography
September 25, 2026
How to Photograph Shy, Difficult, or Anxious Pets
May 24, 2026