How to Fix Bad Lighting in Photos on iPhone, Lightroom, and Photoshop
Unless you shoot exclusively in a controlled studio, bad lighting is inevitable. Harsh midday shadows, dim indoor rooms, mixed color temperatures — every pho...
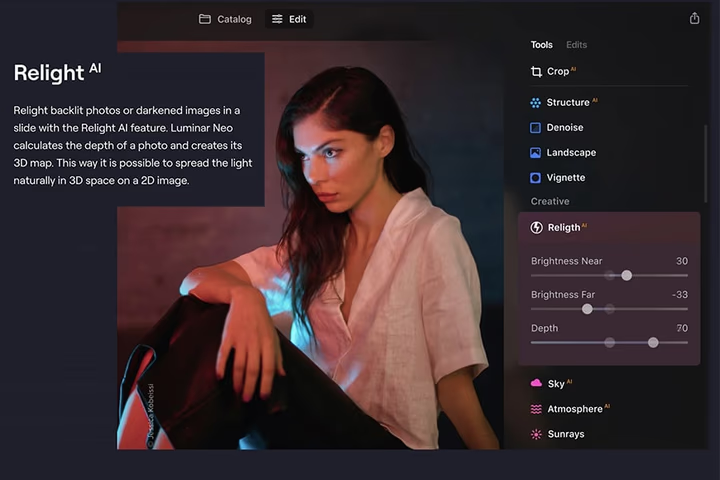
Unless you shoot exclusively in a controlled studio, bad lighting is inevitable. Harsh midday shadows, dim indoor rooms, mixed color temperatures — every photographer encounters them. The good news is that most lighting problems can be corrected or creatively repurposed with the right editing tools and a few practical techniques.
Universal Fixes that Work Across All Platforms
Adjust exposure first. Open your Levels or Exposure slider and pull it until the histogram distributes evenly across the tonal range, avoiding clipping at either end. Fixing overall exposure is the foundation for every other correction.
Recover shadows and highlights independently. Most editors allow you to lift shadows to reveal detail in dark areas and pull back highlights to reveal texture in overexposed regions. This single adjustment fixes the majority of bad-lighting scenarios.
White balance is critical. Mixed or poor lighting often creates a noticeable color cast. Use the white-balance eyedropper on a neutral gray area — a white wall, a piece of paper, or a gray card — to neutralize the shift in one click.
Fixing Bad Light on iPhone
The iPhone's Photos app offers basic but effective adjustments. Tap Edit, then tap the dial icon to access exposure, brilliance, highlights, and shadows sliders. For more control, download Adobe Lightroom Mobile or Snapseed. In Snapseed, the Selective Adjust tool lets you brighten specific areas — like a subject's face — without brightening the entire scene.
Fixing Bad Light in Lightroom
Lightroom's toolset is purpose-built for challenging lighting:
Use the Graduated Filter. If one side of the frame is overexposed (light coming through a window), drag a graduated filter across the bright area and pull down the exposure. This creates a smooth, natural transition.
Apply the Radial Filter. For isolating a face in a dark background, draw a radial filter around the subject and boost exposure, shadows, and clarity within the circle. Feather the edge heavily so the adjustment blends naturally into the surrounding area.
Use the Brush Tool. Paint exposure, shadow, and white balance adjustments directly onto the areas that need them — perfect for brightening a face while keeping the background moody.
Enable Lens Corrections. Check "Remove Chromatic Aberration" and "Enable Profile Corrections" to fix distortion, vignetting, and color fringing that bad lighting can exaggerate.
Fixing Bad Light in Photoshop
Levels and Curves. The Levels adjustment spreads out your tonal range. Curves gives you micro-control over specific brightness zones — useful for lifting dark areas without affecting midtones or highlights.
Camera Raw Filter. This filter (Filter > Camera Raw Filter) applies all the power of Lightroom's sliders directly to a layer inside Photoshop. It's the fastest way to correct exposure, contrast, and white balance without leaving the editing application.
Content-Aware Fill and Clone Stamp. If bad lighting created an unsightly hotspot, reflection, or shadow, you can remove it entirely by painting over it with the Clone Stamp or using Content-Aware Fill to reconstruct the area.
Practical Tips
- Shoot in RAW. JPEGs compress your tonal data, leaving far less room to recover shadows or highlights.
- Expose for the highlights. If you have to choose, protect the brightest part of the image. Recovering shadow detail is far easier than recovering blown-out white sky or skin.
- Use AI-assisted lighting tools. Software like Luminar Neo and Adobe's Sensei-driven features can relight faces automatically — but always review AI suggestions before finalizing.
Final Thoughts
Pulling detail out of difficult lighting takes practice, and each format and editing tool has its own subtle strengths. The common thread is respecting your tonal range: prioritize recovering detail rather than boosting brightness, and use local adjustments to isolate correction where needed.
FAQ
Can I fix overexposed photos? Partially. If highlights are clipped to pure white (255 on the RGB histogram), the data is gone. Aim to recover as much detail as possible before highlights blow out — shoot RAW and expose to the right (ETTR) for maximum flexibility.
What is the best free app for fixing lighting on a phone? Snapseed is the strongest free mobile editor for lighting corrections. Its Selective Adjust tool and Tune Image sliders give you control comparable to desktop software.
Can AI completely fix bad lighting? AI lighting tools have improved dramatically and can produce impressive results, but they often oversharpen or produce subtle artifacts. Use AI as a starting point and fine-tune manually for professional-quality delivery.
Continue reading
31 Famous Photographers to Know
September 25, 2026
How to Take the Perfect Engagement Photos: The 5 Rules
September 27, 2026
Instagram Stars Share Their Secrets to Taking Amazing Photos
September 27, 2026
Everything to Know About Wedding Photography Styles
September 27, 2026
Annie Leibovitz on 5 Images That Have Shaped Her Career
September 27, 2026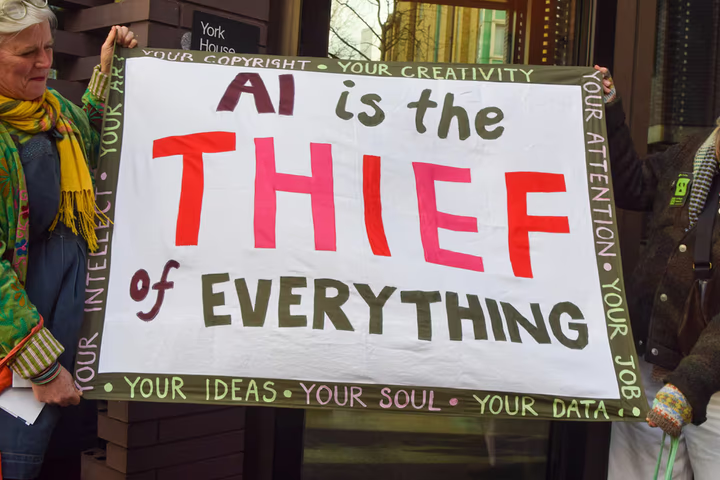
Why People Are Starting to Hate AI — And What Fashion Brands Need to Understand
May 24, 2026
How to Photograph Children: 29 Tips for Creative and Fun Photos
May 24, 2026
8 Sibling Rivalry Poses That Turn Fights Into Epic Photoshoots
July 11, 2026
Fashion People and Zara Agree: You Can't Go Wrong With This Effortless 3-Piece Summer Outfit Idea
May 25, 2026
Is AI Antithetical to Luxury? What Prada's Controversial Campaign Reveals About Fashion's Biggest Tension
May 24, 2026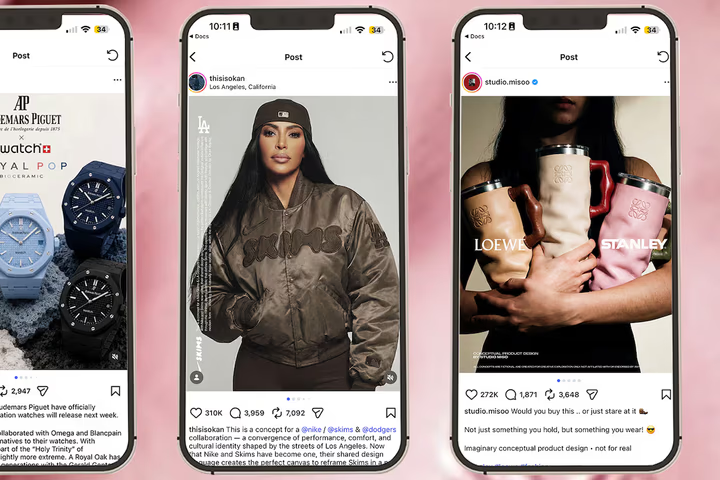
AI-Generated Mockups Are Going Viral — But Are They Good for Fashion Brands?
May 24, 2026
How Pixel Moda Is Producing 14 Million AI-Assisted Images a Year — Without Losing the Human Touch
May 24, 2026
A Day by Boat: How to Dress, What to Bring, and Why It's the Ultimate Summer Experience ⛵️
May 24, 2026
99 Most Inspirational Photography Quotes
September 25, 2026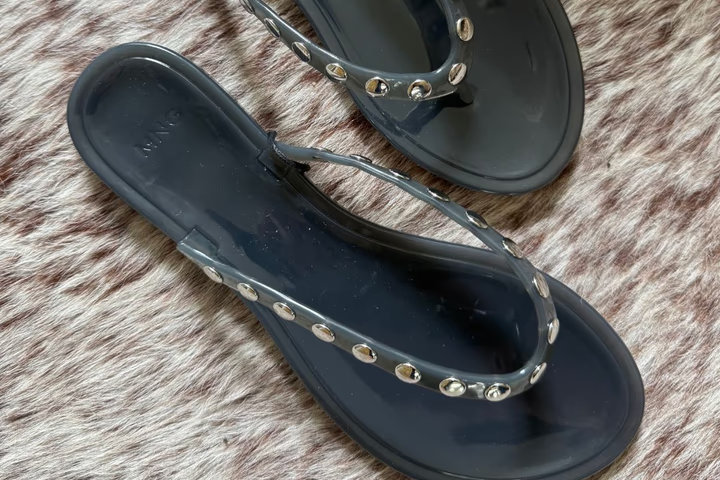
6 Chic Sandal Trends That Will Give Your Summer Shoe Collection Some Personality
May 24, 2026