Sibling Photoshoot Poses
Photographing brothers and sisters is not really a posing problem. It is a relationship problem with a camera pointed at it, and the relationship is doing wh...
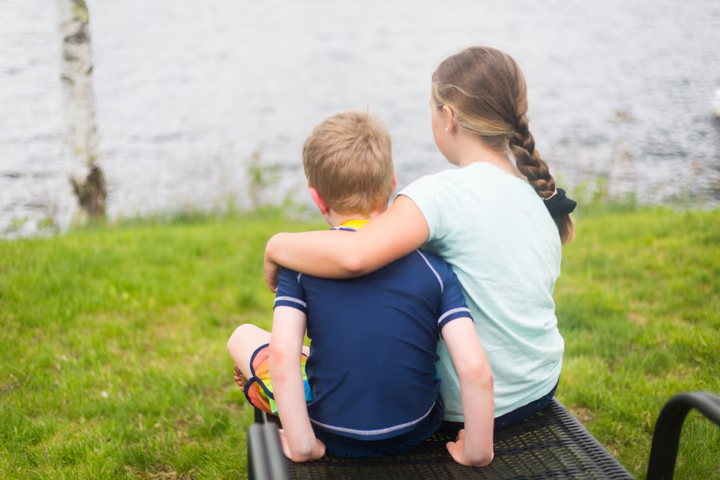
Photographing brothers and sisters is not really a posing problem. It is a relationship problem with a camera pointed at it, and the relationship is doing whatever it wants.
That is the good news. Two children standing awkwardly side by side will produce a stiff photograph, but two children who are bickering, competing or genuinely laughing will produce something with life in it. The job is to set up situations where the relationship shows, and then get out of the way.
Below are twelve arrangements that work, followed by the parts that decide whether the session holds together: age gaps, bickering, light, and the practical question of who to focus on. Photo: Kristin Hardwick — CC0, via Openverse.
Twelve Arrangements That Work
1. Back to Back, Arms Folded
Both children stand with their backs against each other, arms folded. It is the classic sibling shot and it still works, because the symmetry gives the image a shape and the physical contact produces natural expressions from children who are usually arguing.
Ask them to press harder against each other. The push-and-resist game produces better faces than the pose itself.
2. Sitting on a Step in Height Order
A step or a low wall gives you two levels and immediately solves the overlapping-head problem. Seat the shorter child in front and the taller behind, turned slightly toward each other rather than facing the camera.
Steps are also a finite space, which matters more than it sounds. Children who have a defined area to sit in drift less.
3. One Carrying the Other
The older child gives the younger one a piggyback. It gives both of them a physical job, puts the smaller face at a useful height, and reliably produces real expression rather than a commanded smile.
Photograph the moment after they are settled rather than during the climb, unless you specifically want the chaos frame as an alternative.
4. Walking With Linked Arms
Send them walking across the frame with arms linked. Walking occupies the legs, which is where stiffness usually lives, and it gives you a sequence of frames from one simple instruction.
Shoot a burst and look for the frame where the feet suggest a natural stride rather than a posed stop.
5. Foreheads Together, Laughing
Get them to touch foreheads and say something silly to each other. This works with almost any age pair, including teenagers, because the instruction itself is ridiculous enough to break the self-consciousness.
Keep shooting after the first laugh. The second and third frames are usually better than the first.
6. Head to Head on the Floor
Both lying on the floor with their heads close together, photographed from directly above. It is comfortable, which matters for younger children, and the overhead angle turns the pair into a graphic shape rather than a lineup.
Watch that one child has not ended up looking like an afterthought. Shift them closer by a hand's width and the composition tightens.
7. The Shared Blanket
One blanket, two children, wrapped together and sitting up. The blanket gives them something to hold and hide behind, which is useful for children who resist physical closeness, and it creates a soft, informal frame.
This arrangement also works well outdoors in cold weather, where the blanket is a genuine comfort rather than a prop.
8. Holding Hands in a Line
The simplest instruction there is, and it works from toddler age upwards. The joined hands create a visible connection in the frame, and you can shoot it walking, standing, or from behind.
For a pair with a large age gap, the older child leading the younger by the hand is one of the most reliable arrangements available.
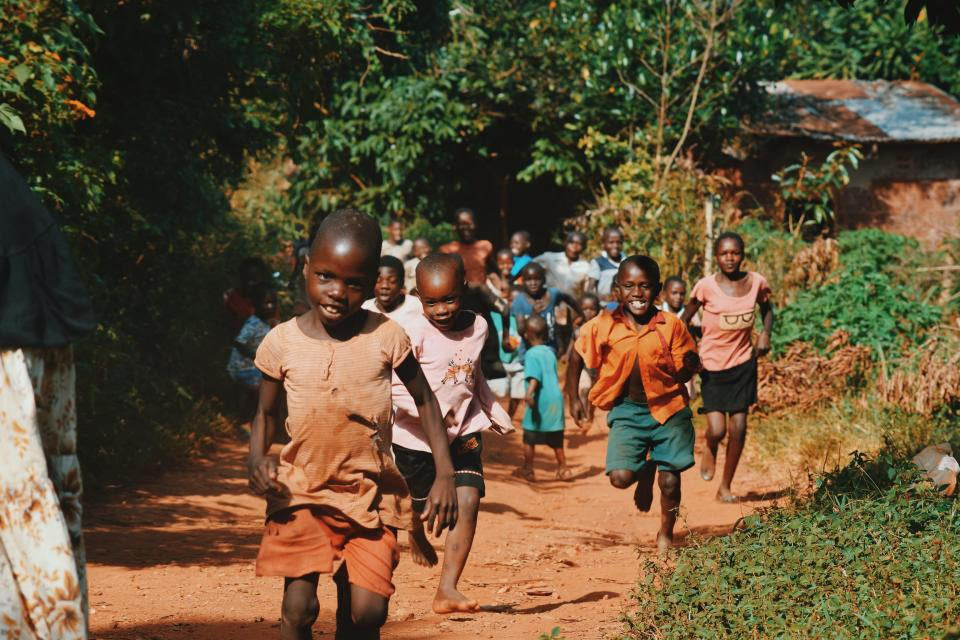
Photo: Seth Doyle — CC0, via Openverse.
9. The Piggyback or Tickle Candid
Assign one sibling the job of tickling the other. Step back, keep shooting, and accept that you will throw away most of the frames.
The one frame you keep will have real laughter in it, which is worth more than a technically tidy pose. This approach is also the fastest cure for a session that has gone flat.
10. The Serious Look for Older Siblings
Older siblings, particularly teenagers, will often refuse to smile on request, and asking anyway produces a grimace. Give them permission to look serious instead.
A straight, confident expression from a teenager reads as far better than a forced smile, and it gives the younger sibling something to react to. Direct the older child first and let the younger one follow.
11. A Shared Object
A book, a football, a bicycle, a pet. The object gives both children something to do with their hands and a neutral thing to look at, which removes the pressure of making eye contact with the camera.
If there is a family dog, this is the arrangement to bring it into, because the animal becomes a third character rather than an interruption. Working an animal into a group needs a slightly different approach, and the rules that apply to pets in family photographs apply here too.
12. The Action Shot That Breaks the Stiffness
Jumping on three, racing to a marker, throwing leaves. Give them a genuine physical task and photograph what happens.
The first attempt is usually self-conscious and the second is usually the good one, once the instruction has stopped feeling like a test. Two or three repetitions is the sweet spot; beyond that, interest collapses.
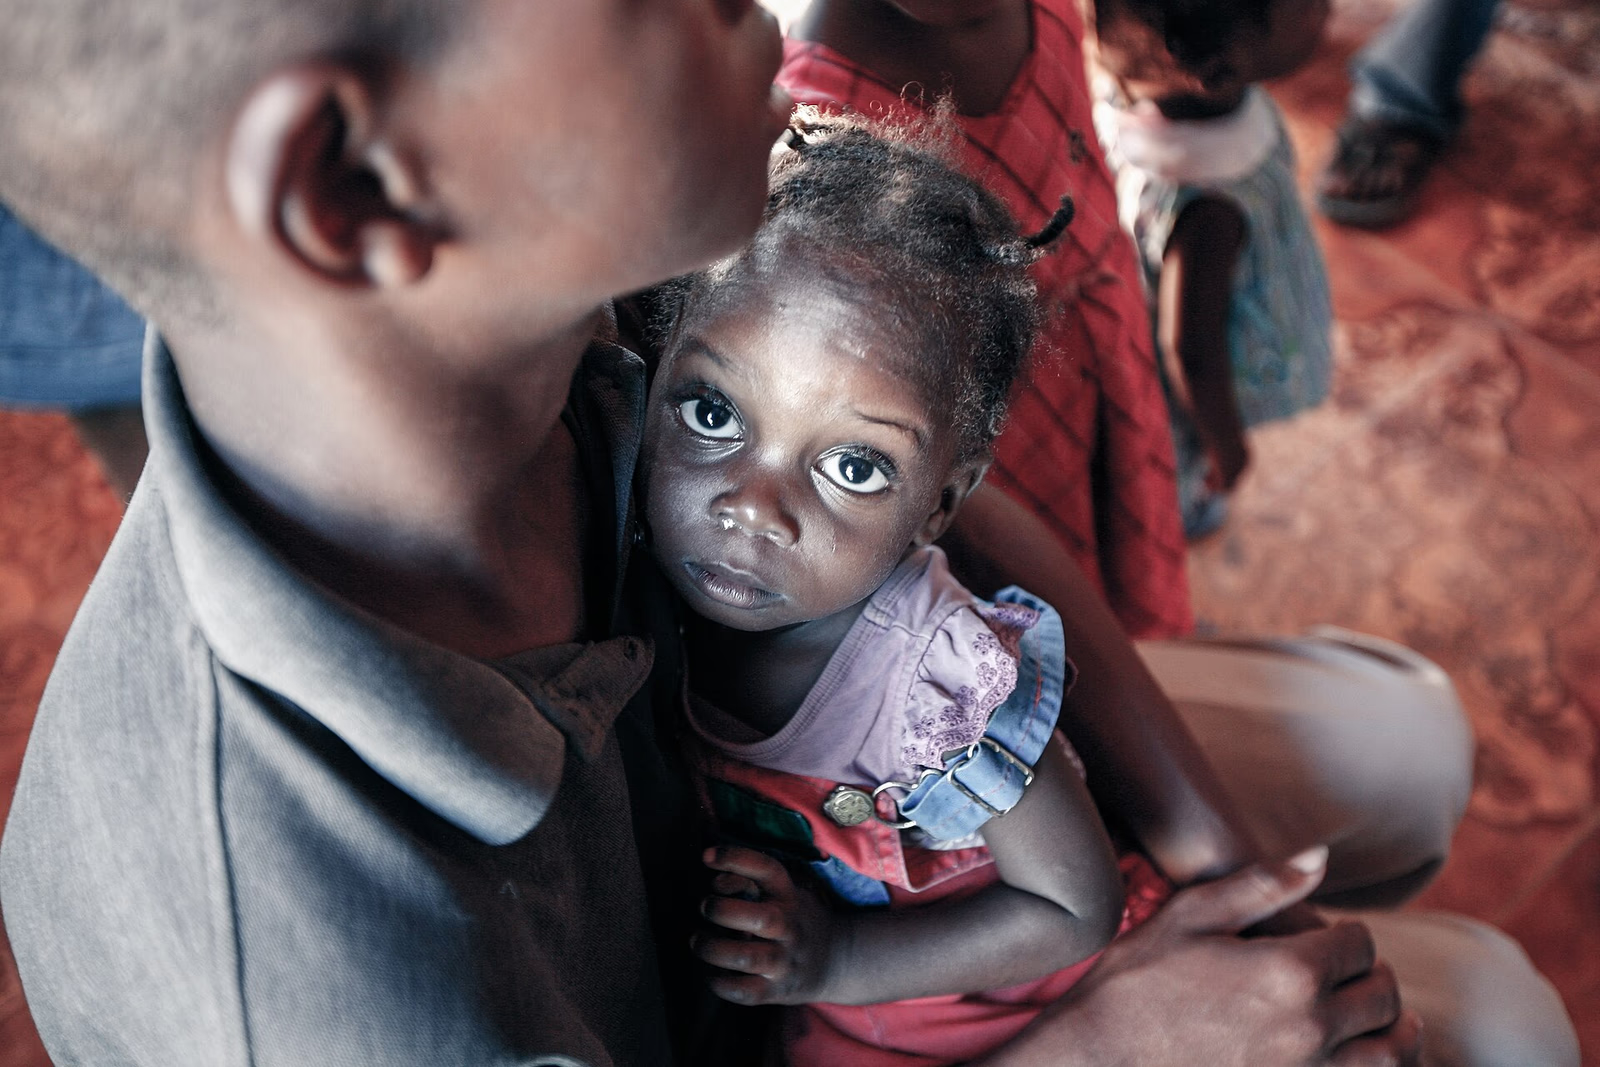
Photo: Alex Proimos from Sydney, Australia — CC BY 2.0, via Wikimedia Commons.
Managing the Age Gap
A toddler and a teenager are two entirely different photographic problems in the same frame, and the mistake is directing them as one unit.
Direct the older one first, because they can hold a position and will do it better if they are given a job. Then place the younger one wherever they physically fit, and photograph fast. Do not ask a two-year-old to cooperate, because cooperation is not a thing they have yet, which is why photographing children comes down to giving them something to do rather than directing them.
For very close age gaps, the opposite applies. Two children a year apart will mirror each other's behaviour, so a session that engages both at the same level works well. Expect more sibling competition, which can be useful material if you keep shooting through it.
Turning Bickering Into a Frame
Siblings argue during sessions. Trying to suppress it produces wooden photographs; redirecting it produces some of the best ones, which is the whole idea behind poses built around sibling rivalry.
If they start competing, give the competition an actual objective. Who can stand still longest, who can lift the other, who can make the silliest face. If they are irritated with each other, shoot anyway: the annoyance will usually collapse into laughter within a minute or two, and both frames are usable.
The one thing worth stopping is physical escalation that risks a genuine injury or ends the session in tears. If it looks like it is heading that way, give them a break, a drink and a different task.
Focus, Light and Location
Deciding who to focus on is a real problem when two faces sit at different distances. Focus on the nearer child, stop the lens down slightly so the further one stays acceptably sharp, and accept that you cannot have both eyes critically sharp at a close distance with a wide aperture.
Alternatively, place them on the same plane. Back-to-back, sitting on the same step and lying head to head all put the faces at an equal distance, which solves the problem entirely and is one of the reasons those arrangements are so reliable.
For light, open shade and overcast days make sibling photographs easier than bright sun, because nobody has to squint and both faces fit comfortably into the same tonal range. Outdoors, shoot with the sun behind them and expose for the faces.
Location matters less than people expect. A step, a doorway, a wall and a patch of grass cover most sibling sessions, and access to a familiar place where the children are relaxed is worth more than a spectacular one where they are not.
Tips for Sibling Sessions
- Direct the older child first and let the younger one react to them.
- Give them a physical task immediately, before they have time to feel awkward.
- Shoot in bursts and expect to keep one frame in twenty.
- Photograph the argument, not just the cooperation.
- Place faces on the same plane when you can, to solve the focus problem.
- Keep sessions short and end before the energy drops.
- Include a shared object, and include the family pet if it belongs in the picture.
- Stop asking for smiles once it is clear that is not going to work.
Conclusion
Sibling photographs succeed or fail on interaction. Two children doing something together, even something competitive, generate images that no amount of posing instruction will match, because the relationship is the subject and it needs to be visible.
The practical approach is simple: set the pair up in one of these arrangements, give them a task, and photograph continuously until the real expressions arrive. Then stop, because the last ten minutes of any sibling session are always worse than the first ten.
If the family session extends beyond the siblings, the same logic applies at a larger scale. Photographs that include the family pet follow the same patience-first rules, and groups that involve young children and older relatives work best when you photograph the children first while everyone still has patience left.
FAQ
How do I get siblings to look natural together?
Give them something to do rather than something to hold. Walking, carrying, competing and tickling all produce genuine expressions, while asking them to stand together and smile rarely does.
What if my children fight during the photoshoot?
Keep shooting. Bickering usually collapses into laughter within a minute or two, and both the argument and the reconciliation make usable frames. Only intervene if it is escalating toward real distress, and then take a break rather than pushing on.
How do I photograph siblings with a big age gap?
Direct the older child first, since they can hold a position and respond to instruction, then place the younger one physically and shoot fast. Placing the younger child in the older child's arms or on their shoulders is one of the few arrangements that works across a large gap.
Where should I focus when the two children are at different distances?
Focus on the nearer face and stop the lens down to keep the further one acceptably sharp, or move them onto the same plane so both are equidistant. Arrangements like back-to-back or sitting on the same step solve the problem by design.
Should I use props?
Only shared ones. A single object that both children can interact with, such as a book, a ball or a pet, gives them something to look at and occupy their hands. Individual props tend to pull the picture in two directions.
What is the best time of day for sibling photos?
Overcast conditions or open shade at any time of day, or the hour before sunset if you are shooting outdoors and want warm light. Hard midday sun makes both children squint, which is the most common reason sibling photographs look strained.
How long should the session be?
Twenty to thirty minutes for young children, and stop before the energy drops. Sibling sessions degrade quickly once one child has decided they are finished, and a short session that ends well is one they will tolerate again next year.
Continue reading
How to Photograph Children: 29 Tips for Creative and Fun Photos
May 24, 2026
8 Sibling Rivalry Poses That Turn Fights Into Epic Photoshoots
July 11, 2026
How to Edit Concert Photos for Best Results
July 11, 2026
27 Flattering Portrait Poses
September 25, 2026
Which Fashion Brands Are Winning the AI Discovery Battle — And Why It Matters More Than SEO
May 24, 2026
12 Grandparent-and-Grandchild Photo Poses
May 24, 2026
How to Take the Perfect Engagement Photos: The 5 Rules
September 27, 2026
Everything to Know About Wedding Photography Styles
September 27, 2026
Annie Leibovitz on 5 Images That Have Shaped Her Career
September 27, 2026
5 Chic Jeans and Top Combos You'll Be Wearing All Summer Long
May 24, 2026
How to Photograph Children
September 25, 2026
8 Sustainable Fashion Photoshoot Ideas That Wow on Instagram
July 11, 2026
Every Chic Londoner Is Wearing One of These 5 Summer Heatwave Staples This Weekend
May 25, 2026
42 Free Photography Books to Download (PDF + eBooks)
May 24, 2026
Instagram Stars Share Their Secrets to Taking Amazing Photos
September 27, 2026